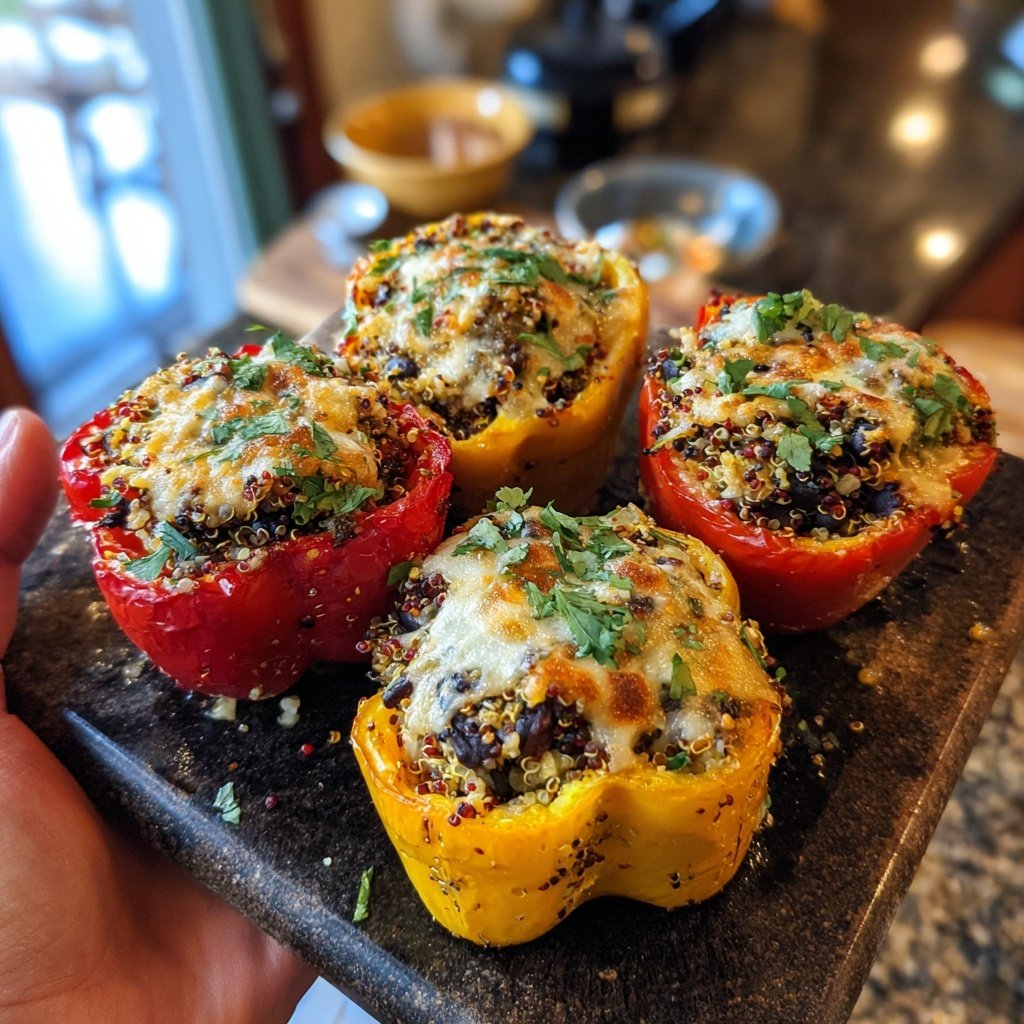
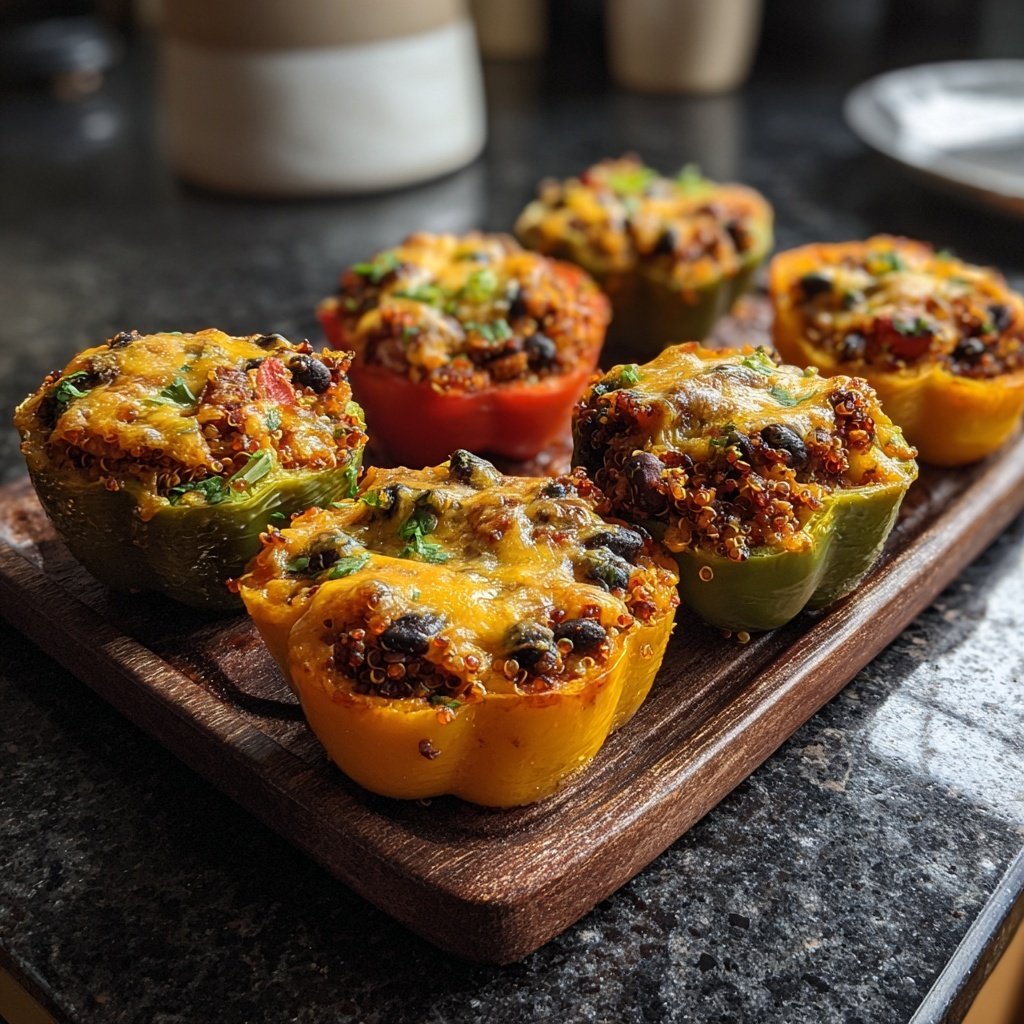
Stuffed Bell Pepper Cups
Highlighted under: Potluck Ideas
I absolutely adore making Stuffed Bell Pepper Cups for a delightful meal that's both colorful and delicious! With vibrant bell peppers filled to the brim with a hearty mixture of grains, vegetables, and spices, this dish has become a favorite in our household. The best part? It's incredibly versatile—whether you prefer quinoa, rice, or lentils, you can customize the stuffing to suit your taste. Not only is it a feast for the eyes, but it also makes for a satisfying, healthy dinner option that everyone loves.
When I first made Stuffed Bell Pepper Cups, I was amazed at how easy it was to create such a balanced, flavor-packed dish. By selecting fresh, seasonal vegetables, I ensured each bite burst with flavor, and adding spices like cumin and paprika elevated the taste beautifully. We often experiment with different fillings, but this combination of rice and black beans has become our go-to!
One of my favorite tips is to roast the bell peppers before stuffing them, as it enhances their sweetness. I found that par-cooking them for about 10 minutes allows the filling to shine through while ensuring the peppers maintain a bit of crunch. Trust me; it makes all the difference!
Why You'll Love These Stuffed Bell Pepper Cups
- Bright, beautiful presentation that impresses guests
- Customizable filling options for all dietary preferences
- Healthy and satisfying meal packed with nutrients
The Role of Bell Peppers
Bell peppers do more than just provide color to your dish—they offer a sweet crunch that complements the hearty stuffing. When selecting your peppers, look for ones that feel heavy for their size and have a vibrant skin. Any color can work, but red, yellow, and orange tend to be sweeter than green. If you find your peppers have cracks or soft spots, they may not hold up well in the oven, and it’s best to choose firm ones for even cooking.
The light drizzling of olive oil before baking not only enhances the flavor but also helps with even cooking. Wine or vegetable stock can be added to the bottom of the baking dish for extra moisture, preventing the peppers from drying out during the baking process. This small step can make a big difference in texture, ensuring you have tender peppers that still retain their shape.
Customizing Your Filling
The stuffing mixture is highly adaptable, allowing for a variety of grains and legumes. If quinoa or rice isn’t your preference, try using couscous or even finely diced cauliflower for a low-carb option. Additionally, feel free to incorporate other vegetables, such as diced tomatoes or chopped spinach, into the mix for extra nutrients and flavor. Just make sure to keep the overall moisture balanced; too many wet ingredients can lead to soggy stuffing.
If you’re looking for added protein, consider incorporating ground turkey, beef, or a plant-based meat substitute cooked with your spices before mixing it with the other components. Remember to adjust the seasoning accordingly, as the protein will absorb flavors differently than grains. A quick taste test before stuffing the peppers can ensure your mixture is perfectly seasoned and delicious.
Ingredients
Stuffing Mixture
- 1 cup cooked quinoa or rice
- 1 can black beans, rinsed and drained
- 1 cup corn kernels
- 1 teaspoon cumin
- 1 teaspoon smoked paprika
- 1/2 teaspoon salt
- 1/4 cup chopped fresh cilantro
Bell Peppers
- 4 large bell peppers (any color)
- 1 tablespoon olive oil
- 1/2 cup shredded cheese (optional)
Instructions
Cooking Directions
Preheat Oven and Prepare Peppers
Preheat your oven to 375°F (190°C). Slice the tops off the bell peppers and carefully remove the seeds. Drizzle the inside with olive oil, and lightly season with salt. Place them in a baking dish.
Prepare the Filling
In a large bowl, combine the cooked quinoa or rice, black beans, corn, cumin, smoked paprika, salt, and cilantro. Mix until well combined.
Stuff the Peppers
Spoon the filling mixture into each bell pepper, packing it tightly. If desired, sprinkle cheese on top of each stuffed pepper.
Bake
Cover the baking dish with foil and bake for 20 minutes. Remove the foil and continue baking for an additional 10 minutes, or until the peppers are tender and the cheese is melted.
Enjoy!
Pro Tips
- After baking, let the stuffed peppers sit for a few minutes to allow the flavors to meld together. They can also be made ahead of time and reheated, making them perfect for meal prep!
Make-Ahead and Storage Tips
You can prepare the filling a day in advance, which saves time on busy weeknights. Store it in an airtight container in the refrigerator. When you're ready to bake, simply stuff the peppers and proceed with the original baking instructions. If baking straight from the fridge, you may need to add an extra 5-10 minutes to the baking time to ensure everything heats through properly.
If you have leftover stuffed peppers, store them in the refrigerator for up to three days. Reheat them in the oven at 350°F (175°C) for about 15-20 minutes, covered with foil to keep the moisture in. Alternatively, they can be microwaved for quicker reheating; just be careful not to overdo it, as this can result in a mushy texture.
Serving Suggestions
Stuffed bell pepper cups make a wonderful centerpiece for a colorful dinner table. They pair nicely with a fresh salad topped with a tangy vinaigrette or some crusty whole-grain bread for a more complete meal. Adding a dollop of yogurt or avocado slices on top adds a creamy contrast that enhances the dish's overall flavor.
For a flair of international flavor, consider adding a drizzle of hot sauce or a sprinkle of feta cheese on top before serving. These finishing touches uplift the dish and add exciting new tastes. Enjoy these stuffed peppers warm, but they are also delicious served cold, making them an excellent choice for lunches or picnics.
Questions About Recipes
→ Can I use other types of proteins?
Absolutely! Feel free to substitute the black beans with ground turkey, chicken, or even tofu for a vegetarian option.
→ How do I store leftovers?
Store any leftover stuffed peppers in an airtight container in the refrigerator for up to 3 days. Reheat in the oven or microwave.
→ Can I freeze stuffed bell peppers?
Yes! To freeze, assemble the stuffed peppers without baking, wrap tightly in foil, and place them in a freezer-safe bag. Bake from frozen when you’re ready to enjoy.
→ What can I serve with these stuffed peppers?
They pair wonderfully with a fresh salad or some crusty bread for a more complete meal.
Stuffed Bell Pepper Cups
Created by: The Chefbradrecipes Team
Recipe Type: Potluck Ideas
Skill Level: Intermediate
Final Quantity: 4 servings
What You'll Need
Stuffing Mixture
- 1 cup cooked quinoa or rice
- 1 can black beans, rinsed and drained
- 1 cup corn kernels
- 1 teaspoon cumin
- 1 teaspoon smoked paprika
- 1/2 teaspoon salt
- 1/4 cup chopped fresh cilantro
Bell Peppers
- 4 large bell peppers (any color)
- 1 tablespoon olive oil
- 1/2 cup shredded cheese (optional)
How-To Steps
Preheat your oven to 375°F (190°C). Slice the tops off the bell peppers and carefully remove the seeds. Drizzle the inside with olive oil, and lightly season with salt. Place them in a baking dish.
In a large bowl, combine the cooked quinoa or rice, black beans, corn, cumin, smoked paprika, salt, and cilantro. Mix until well combined.
Spoon the filling mixture into each bell pepper, packing it tightly. If desired, sprinkle cheese on top of each stuffed pepper.
Cover the baking dish with foil and bake for 20 minutes. Remove the foil and continue baking for an additional 10 minutes, or until the peppers are tender and the cheese is melted.
Extra Tips
- After baking, let the stuffed peppers sit for a few minutes to allow the flavors to meld together. They can also be made ahead of time and reheated, making them perfect for meal prep!
Nutritional Breakdown (Per Serving)
- Calories: 320 kcal
- Total Fat: 10g
- Saturated Fat: 2g
- Cholesterol: 5mg
- Sodium: 300mg
- Total Carbohydrates: 48g
- Dietary Fiber: 9g
- Sugars: 6g
- Protein: 12g