No-Fuss Chocolate Bark Treats
Highlighted under: Dessert Bowl Recipes
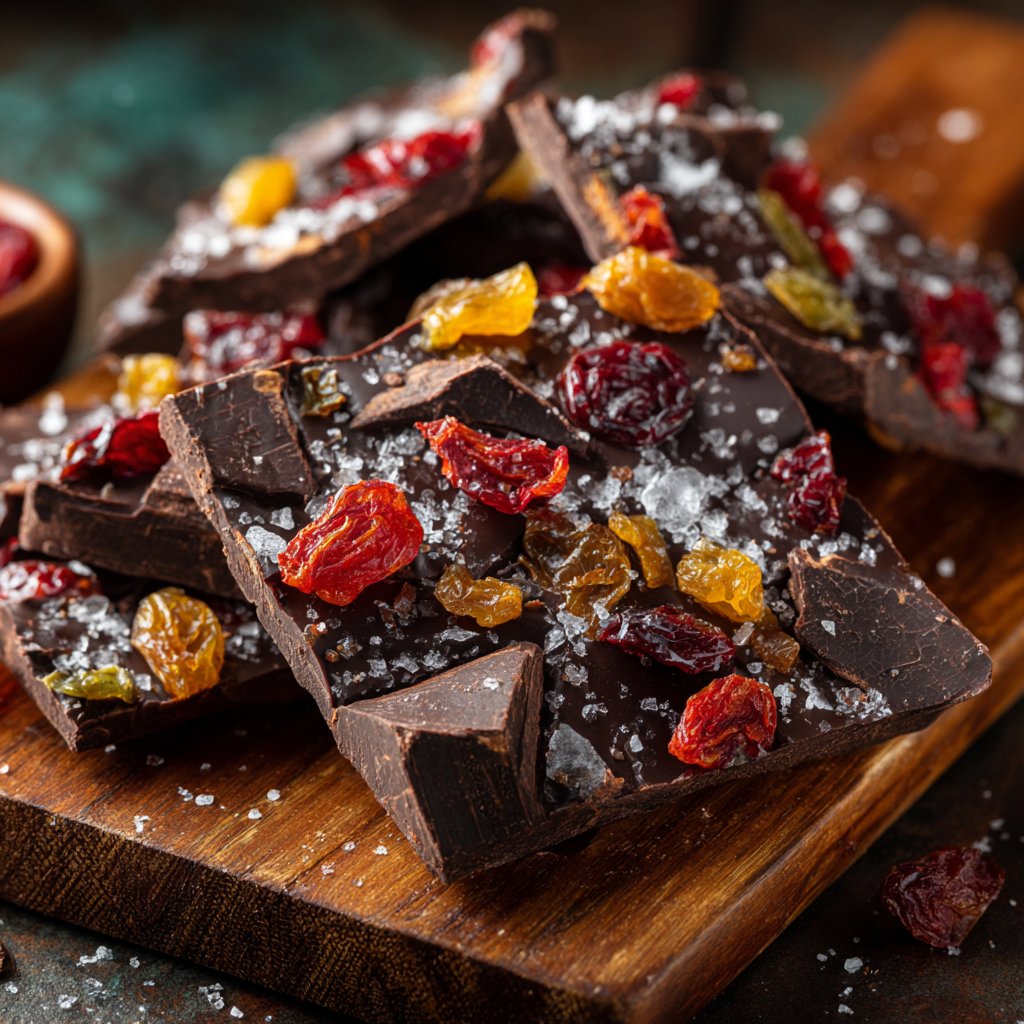
I adore making treats that are both delicious and quick, and these No-Fuss Chocolate Bark Treats fit the bill perfectly. With just a few ingredients, I can whip up a delightful snack that satisfies my sweet tooth without consuming too much time. The beauty of this recipe lies in its versatility; I can customize the toppings based on what I have available or what I’m in the mood for. These treats are not just easy to make; they also look stunning and are perfect for sharing with friends and family.
When I first stumbled upon the idea of chocolate bark, I was struck by how effortless it seemed. The first batch I made was a spontaneous decision, and I threw in whatever toppings I had on hand. The result was a delightful mix of textures and flavors that had everyone raving!
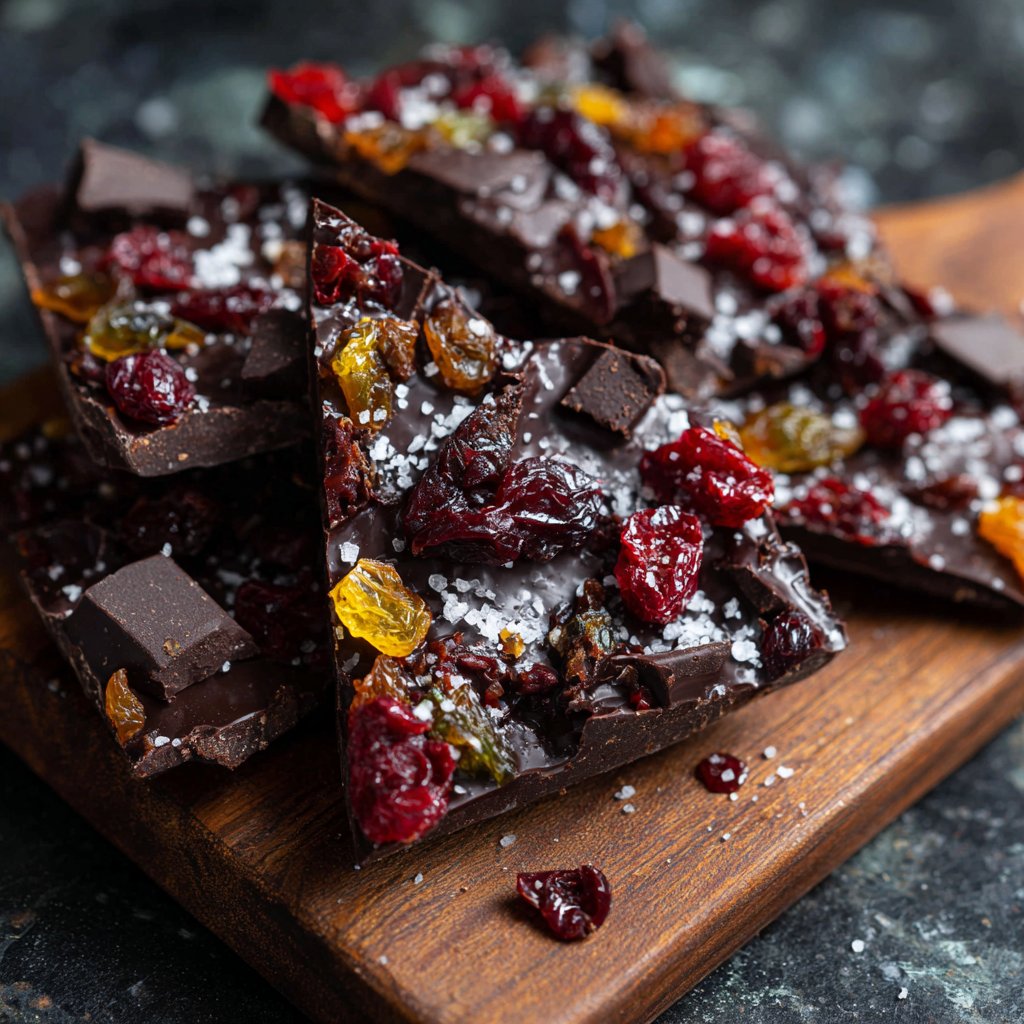
This recipe truly shines because it allows for customization—add nuts for crunch or dried fruits for a chewy element. I found that melting the chocolate in small batches yielded a smoother texture, making the bark even more enjoyable to eat. Just remember to let it cool completely before breaking it into pieces!
Why You'll Love This Recipe
- Rich chocolate flavor paired with a variety of toppings
- Quick preparation, making it perfect for last-minute cravings
- Customizable with your favorite mix-ins, for endless possibilities
Key Techniques for Perfect Bark
Melting chocolate can be tricky if not done correctly. For a smooth consistency, ensure your microwave is set to medium power, melting the chocolate in 30-second increments. Stir thoroughly after each interval until the chocolate is glossy and fully melted. Avoid overheating, as this can cause the chocolate to seize up, becoming grainy and unusable. If this happens, you can sometimes salvage it by adding a small teaspoon of vegetable oil to help bring back the smooth texture.
When spreading the melted chocolate on the parchment-lined baking sheet, aim for an even layer that’s about 1/4 to 1/2 inch thick. This thickness allows for a nice bite and ensures the bark sets properly without being too fragile. Use an offset spatula for the best results, as it glides easily across the surface, creating a uniform finish. Make sure to spread it quickly while the chocolate is still warm for even distribution of toppings.
Customizing Your Ingredients
The beauty of these chocolate bark treats lies in your ability to customize toppings based on personal preference or dietary needs. If you’re looking to reduce sugar, opt for unsweetened dried fruits or substitute nuts with seeds like pumpkin or sunflower for a nut-free version. Dark chocolate can also be swapped out for milk or white chocolate, though keep in mind that this will alter the flavor profile. You may want to consider adjusting sweetness based on the chocolate choice.
Experimenting with flavors can elevate your treat even further. Consider adding a sprinkle of sea salt for a savory kick that balances the sweetness. For a more intense flavor, try incorporating spices like cinnamon or cayenne pepper directly into the melted chocolate before pouring. This adds a delightful twist and can transform your bark into a sophisticated dessert. Don't shy away from being creative with whatever mix-ins you have on hand, making each batch uniquely yours.
Storage and Serving Suggestions
Once your chocolate bark has been broken into pieces, store it in an airtight container at room temperature for up to two weeks. If you need to keep it fresh for a longer duration, refrigerate it where it can last for about a month. Just be mindful that refrigeration can alter the texture slightly, potentially making it a bit firmer than if left at room temperature. If you love to share treats, consider cutting them into gift-sized portions and packaging them beautifully for friends and family.
For serving, pair your chocolate bark with complementary flavors. A scoop of vanilla ice cream or a dollop of whipped cream drizzled with caramel sauce can take this treat from simple to exceptional. Alternatively, serving it alongside fresh fruits like strawberries or raspberries can provide a delightful contrast. Incorporating different textures—such as crunchy nuts and chewy dried fruits—adds an element of surprise that enhances the overall eating experience.
Ingredients
Gather these simple ingredients to get started on your chocolate bark treats:
Ingredients
- 12 oz dark chocolate, chopped
- 1/2 cup assorted nuts (almonds, peanuts, etc.)
- 1/4 cup dried fruits (cranberries, apricots, etc.)
- 1/4 cup sea salt (optional, for topping)
- 1/2 cup sprinkles (for decoration, optional)
Now that you have your ingredients ready, let's move on to the steps of creating these treats!
Instructions
Follow these easy steps to prepare your No-Fuss Chocolate Bark Treats:
Melt the Chocolate
In a microwave-safe bowl, melt the chopped dark chocolate in 30-second intervals, stirring in between, until smooth and fully melted.
Prepare the Baking Sheet
Line a baking sheet with parchment paper, ensuring it’s completely covered to prevent sticking.
Pour and Spread
Pour the melted chocolate onto the prepared baking sheet and use a spatula to spread it evenly to your desired thickness.
Add Toppings
While the chocolate is still warm, sprinkle the assorted nuts, dried fruits, and any additional toppings over the surface.
Chill
Refrigerate the chocolate bark for about 10 minutes or until fully hardened.
Break into Pieces
Once hardened, remove from the refrigerator and break into pieces of your preferred size. Enjoy your treats!
Your No-Fuss Chocolate Bark Treats are now ready to be enjoyed! Store them in an airtight container for later.
Pro Tips
- Feel free to experiment with different chocolate types—milk, white, or flavored chocolate can all create fun variations of this treat!
Making it Ahead of Time
These No-Fuss Chocolate Bark Treats are perfect for preparing in advance, making them an excellent choice for parties or holiday gatherings. You can make the entire batch a few days ahead, ensuring you have one less task to tackle on the day of your event. As chocolate bark holds up well, simply store it in an airtight container in a cool, dry place until you're ready to serve, preserving its freshness and texture.
When you plan to prepare an extra batch, consider scaling the recipe up easily. Doubling or tripling the ingredients is straightforward—just adjust your baking sheet size accordingly so the chocolate doesn’t spread too thin. This allows for quick preparation while still maintaining the integrity of the treat with the perfect blend of flavors.
Troubleshooting Common Issues
If your chocolate doesn’t melt smoothly and appears clumpy, it’s likely you’ve overheated it or exposed it to moisture. If this happens, using the addition of oil can sometimes help restore its consistency. Always ensure that your tools are completely dry to avoid introducing moisture to the chocolate. Additionally, avoid stirring too vigorously as this can incorporate air, leading to a grainy texture.
Another common issue is uneven topping distribution. To prevent this, add toppings while the chocolate is still warm and slightly tacky to the touch, creating a stronger bond. If you notice some areas of your bark are less topped than others, consider using a spatula to gently press them down once you’ve sprinkled the toppings, ensuring they stick beautifully as it cools.
Questions About Recipes
→ Can I use different types of chocolate?
Absolutely! You can mix and match dark, milk, or white chocolate based on your preference.
→ How should I store the chocolate bark?
Store it in an airtight container at room temperature for up to two weeks.
→ What toppings work best?
Nuts, dried fruits, and sprinkles are great, but you can also use crushed candy or coconut for a different flavor profile.
→ Can I make this vegan?
Yes! Just use vegan chocolate and ensure any toppings are plant-based.
No-Fuss Chocolate Bark Treats
Created by: The Chefbradrecipes Team
Recipe Type: Dessert Bowl Recipes
Skill Level: Beginner
Final Quantity: 4 servings
What You'll Need
Ingredients
- 12 oz dark chocolate, chopped
- 1/2 cup assorted nuts (almonds, peanuts, etc.)
- 1/4 cup dried fruits (cranberries, apricots, etc.)
- 1/4 cup sea salt (optional, for topping)
- 1/2 cup sprinkles (for decoration, optional)
How-To Steps
In a microwave-safe bowl, melt the chopped dark chocolate in 30-second intervals, stirring in between, until smooth and fully melted.
Line a baking sheet with parchment paper, ensuring it’s completely covered to prevent sticking.
Pour the melted chocolate onto the prepared baking sheet and use a spatula to spread it evenly to your desired thickness.
While the chocolate is still warm, sprinkle the assorted nuts, dried fruits, and any additional toppings over the surface.
Refrigerate the chocolate bark for about 10 minutes or until fully hardened.
Once hardened, remove from the refrigerator and break into pieces of your preferred size. Enjoy your treats!
Extra Tips
- Feel free to experiment with different chocolate types—milk, white, or flavored chocolate can all create fun variations of this treat!
Nutritional Breakdown (Per Serving)
- Calories: 220 kcal
- Total Fat: 14g
- Saturated Fat: 8g
- Cholesterol: 0mg
- Sodium: 60mg
- Total Carbohydrates: 22g
- Dietary Fiber: 2g
- Sugars: 18g
- Protein: 3g